QC Recipes: Champurrado Drinking Chocolate

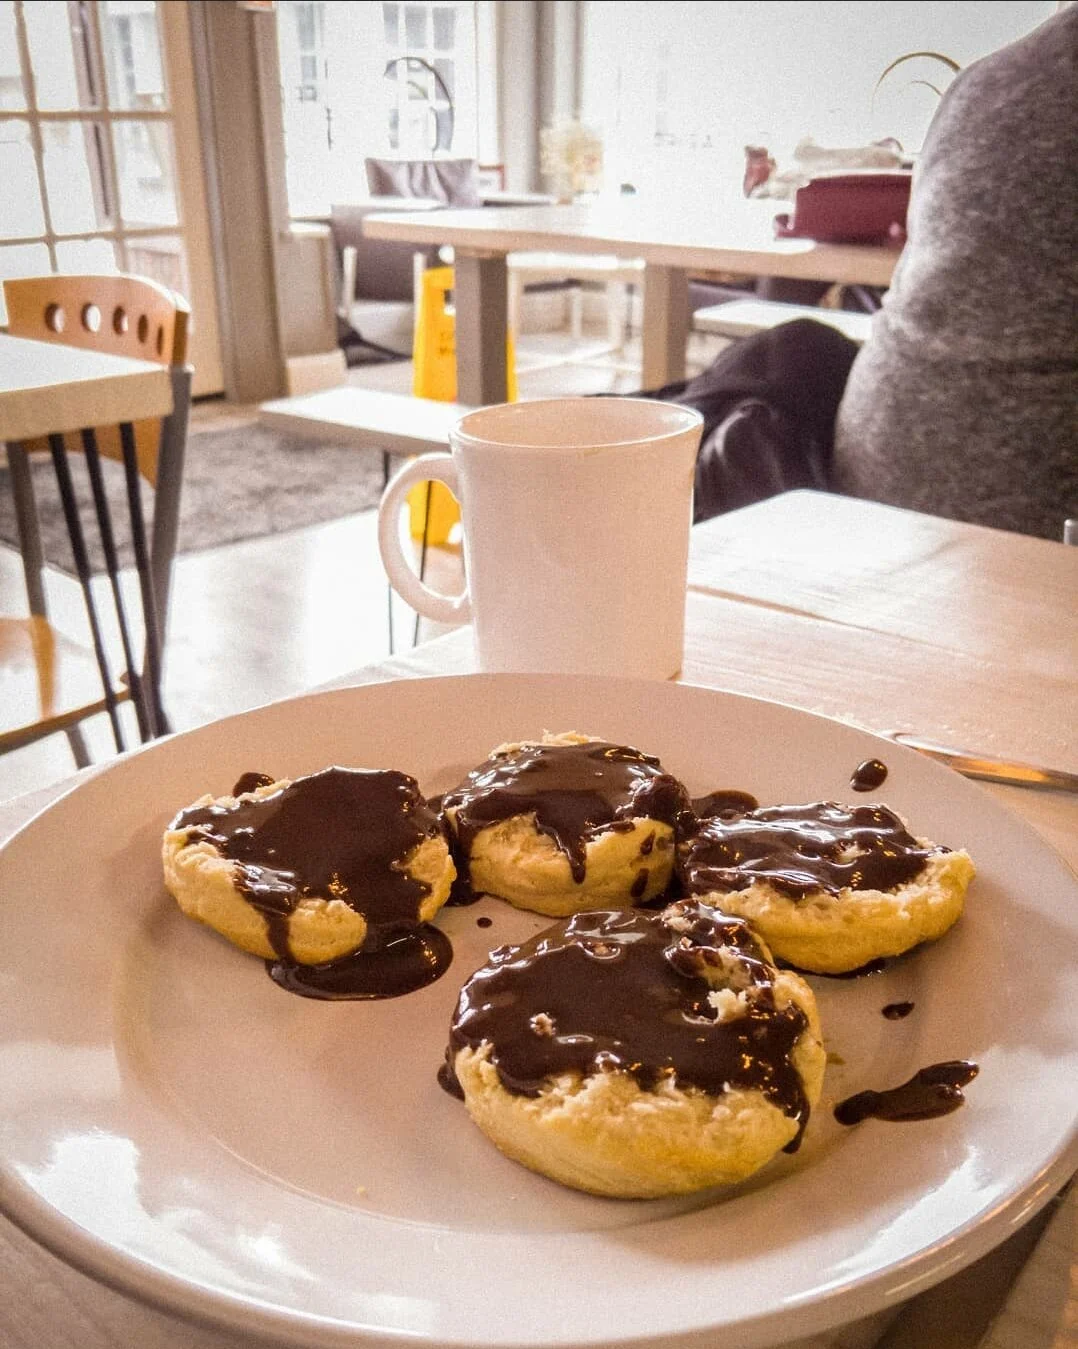
Drinking chocolates can be enjoyed anytime of day but I prefer to begin the day on a high note! Paired with my homemade granola, this was my first experiment with making champurrado before my shop opened. It was a delightful rookie cup and catapulted me into exploring more drinking chocolate concepts!
Chocolate's origins are, in fact, rooted in drinking rather than eating. Mesoamerican cultures long cultivated, harvested, consumed, and traded cacao before colonizers stumbled their way to this hemisphere. With a name meaning Food of the gods, we can see how highly-esteemed theobroma cacao was situated in many of the civilizations from as early as 1900 BCE, with some evidence suggesting even earlier.
Cacao beans were even used as currency. Money literally grew on trees, y’all.
Eating chocolate, as we are more familiar with today, didn’t come onto the scene until the 1800s by comparison.
And as much as we love to eat chocolate, one should definitely have a proper cup of drinking chocolate to walk down the road of becoming a true cocoa connoisseur!
Let your Queer Chocolatier help!
Drinking Chocolate vs. Hot Cocoa
You might ask yourself, what's the difference between drinking chocolate and hot cocoa? Sounds the same, right?
The key difference is the form of chocolate used in the beverage.
Hot cocoa is made with, as you may have guessed, cocoa powder as its base and is mixed with sugar, water or milk, and flavorings. Drinking chocolate, on the other hand, is typically made by gently melting down finished chocolate and incorporating various liquids and other ingredients for flavor and texture.
A good but imperfect analogy would be to compare drip-brewed coffee with hot cocoa and espresso shots with drinking chocolate. The intensity and concentration of chocolate is more present in drinking chocolate as so with espresso shots in the coffee world.

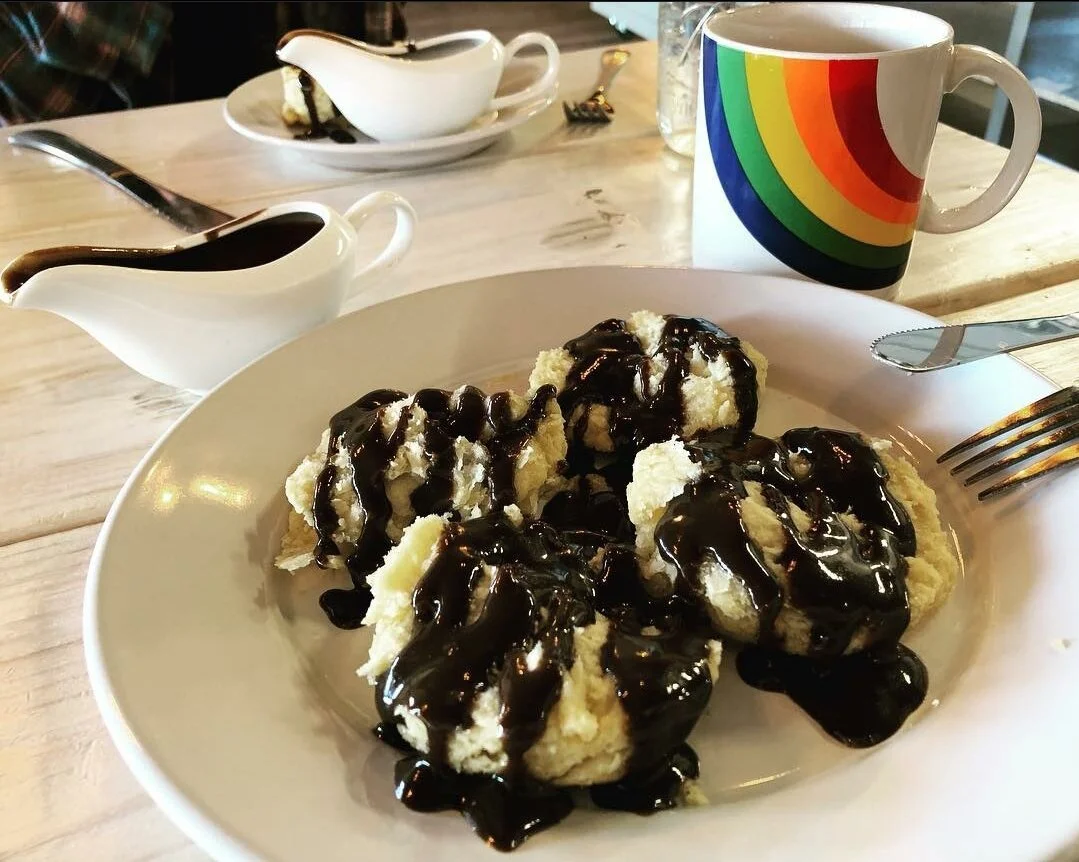
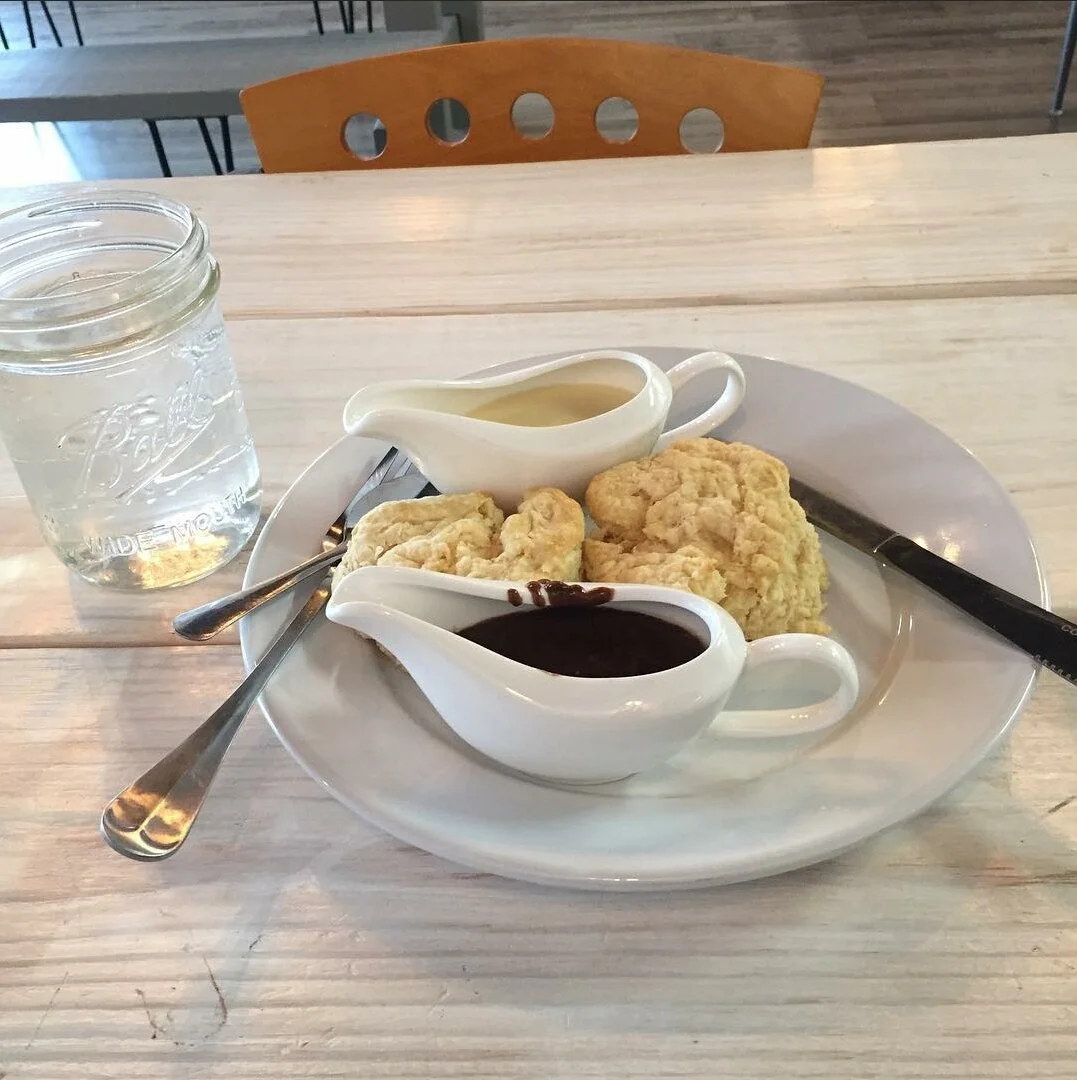
Preparing drinking chocolate orders at Queer Chocolatier's Chocolate House
We served 4 to 5 different drinking chocolates on our menu, depending on the season, but my favorite is the champurrado. This drink is inspired by the Mesoamerican origins but made more palatable for today's consumers. Although, the modern-day Hoosier in me deeply yearns for that corn…
Ingredients:
For 1 serving of champurrado
1 ounce dark chocolate (no less than 60% cocoa, which is what we use at QC), chopped into small pieces
1 Tablespoon of finely-ground cornmeal
½ teaspoon ground cinnamon
¼ teaspoon ground chipotle
4 ounces of boiling water
Steps:
Set a small cup to the side ready for you to pour your champurrado in immediately after it is prepared.
Place a kettle filled with water on the boil.
If you have an electric kettle, use as instructed by manufacturer.
If you have a non-electric kettle, pour water in and place in stovetop burner to bring to boil.
If you don’t have a kettle, skip this step and move onto step 3.
In a small pot (tbh, I use butter warmers to prepare our drinking chocolates!), combine chocolate pieces, cornmeal, cinnamon, and chipotle and place on stovetop burner on medium-low heat. (If you do not have a kettle, add 4 ounces of water along with the other ingredients in small pot.)
Stir continuously with a heatproof spatula in order to keep chocolate from scorching and to further incorporate dry ingredients into melted chocolate.
Once chocolate is fully melted, pour boiling water in with the melted chocolate and use a whisk to vigorously combine. (If water was added at the beginning, once you see chocolate is melted, switch out the spatula for the whisk to begin mixing vigorously.)
As beverage heats up, the cornmeal will thicken considerably. Check for temperature and flavor by dipping a small spoon in the pot to bring out for a taste. Be careful, please, and don’t burn your tongue!
When beverage is at your desired hot temperature, turn off heat and pour immediately into your serving cup and enjoy!
A couple of notes:
Drinking chocolate is absolutely something to make to your tastes! If you want it spicier, add more chipotle. If you don’t like or can’t eat cinnamon, omit it for a different spice you like. If you like a thinner or thicker beverage, adjust the water accordingly.
For something a bit more robust, consider swapping hot coffee for the water!
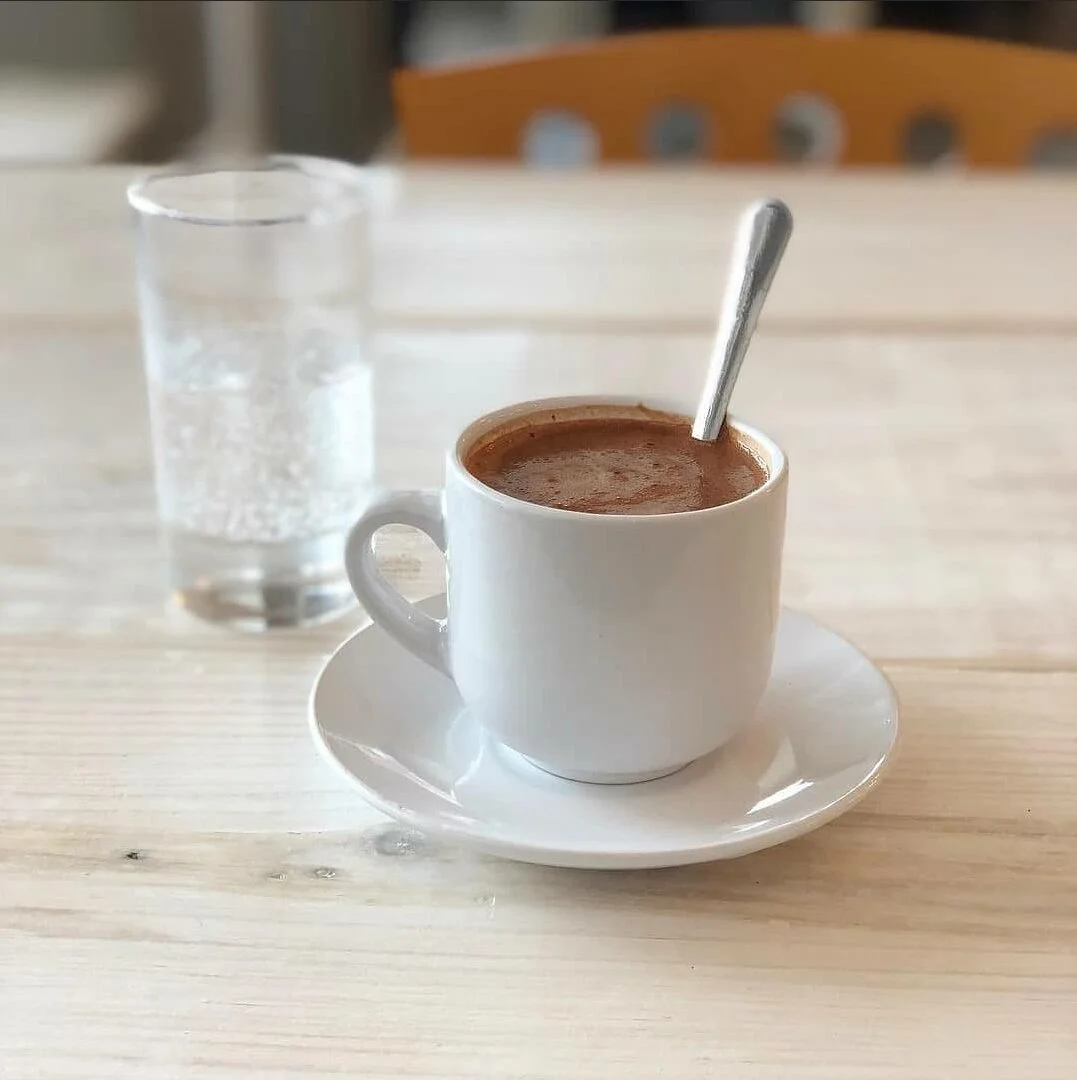
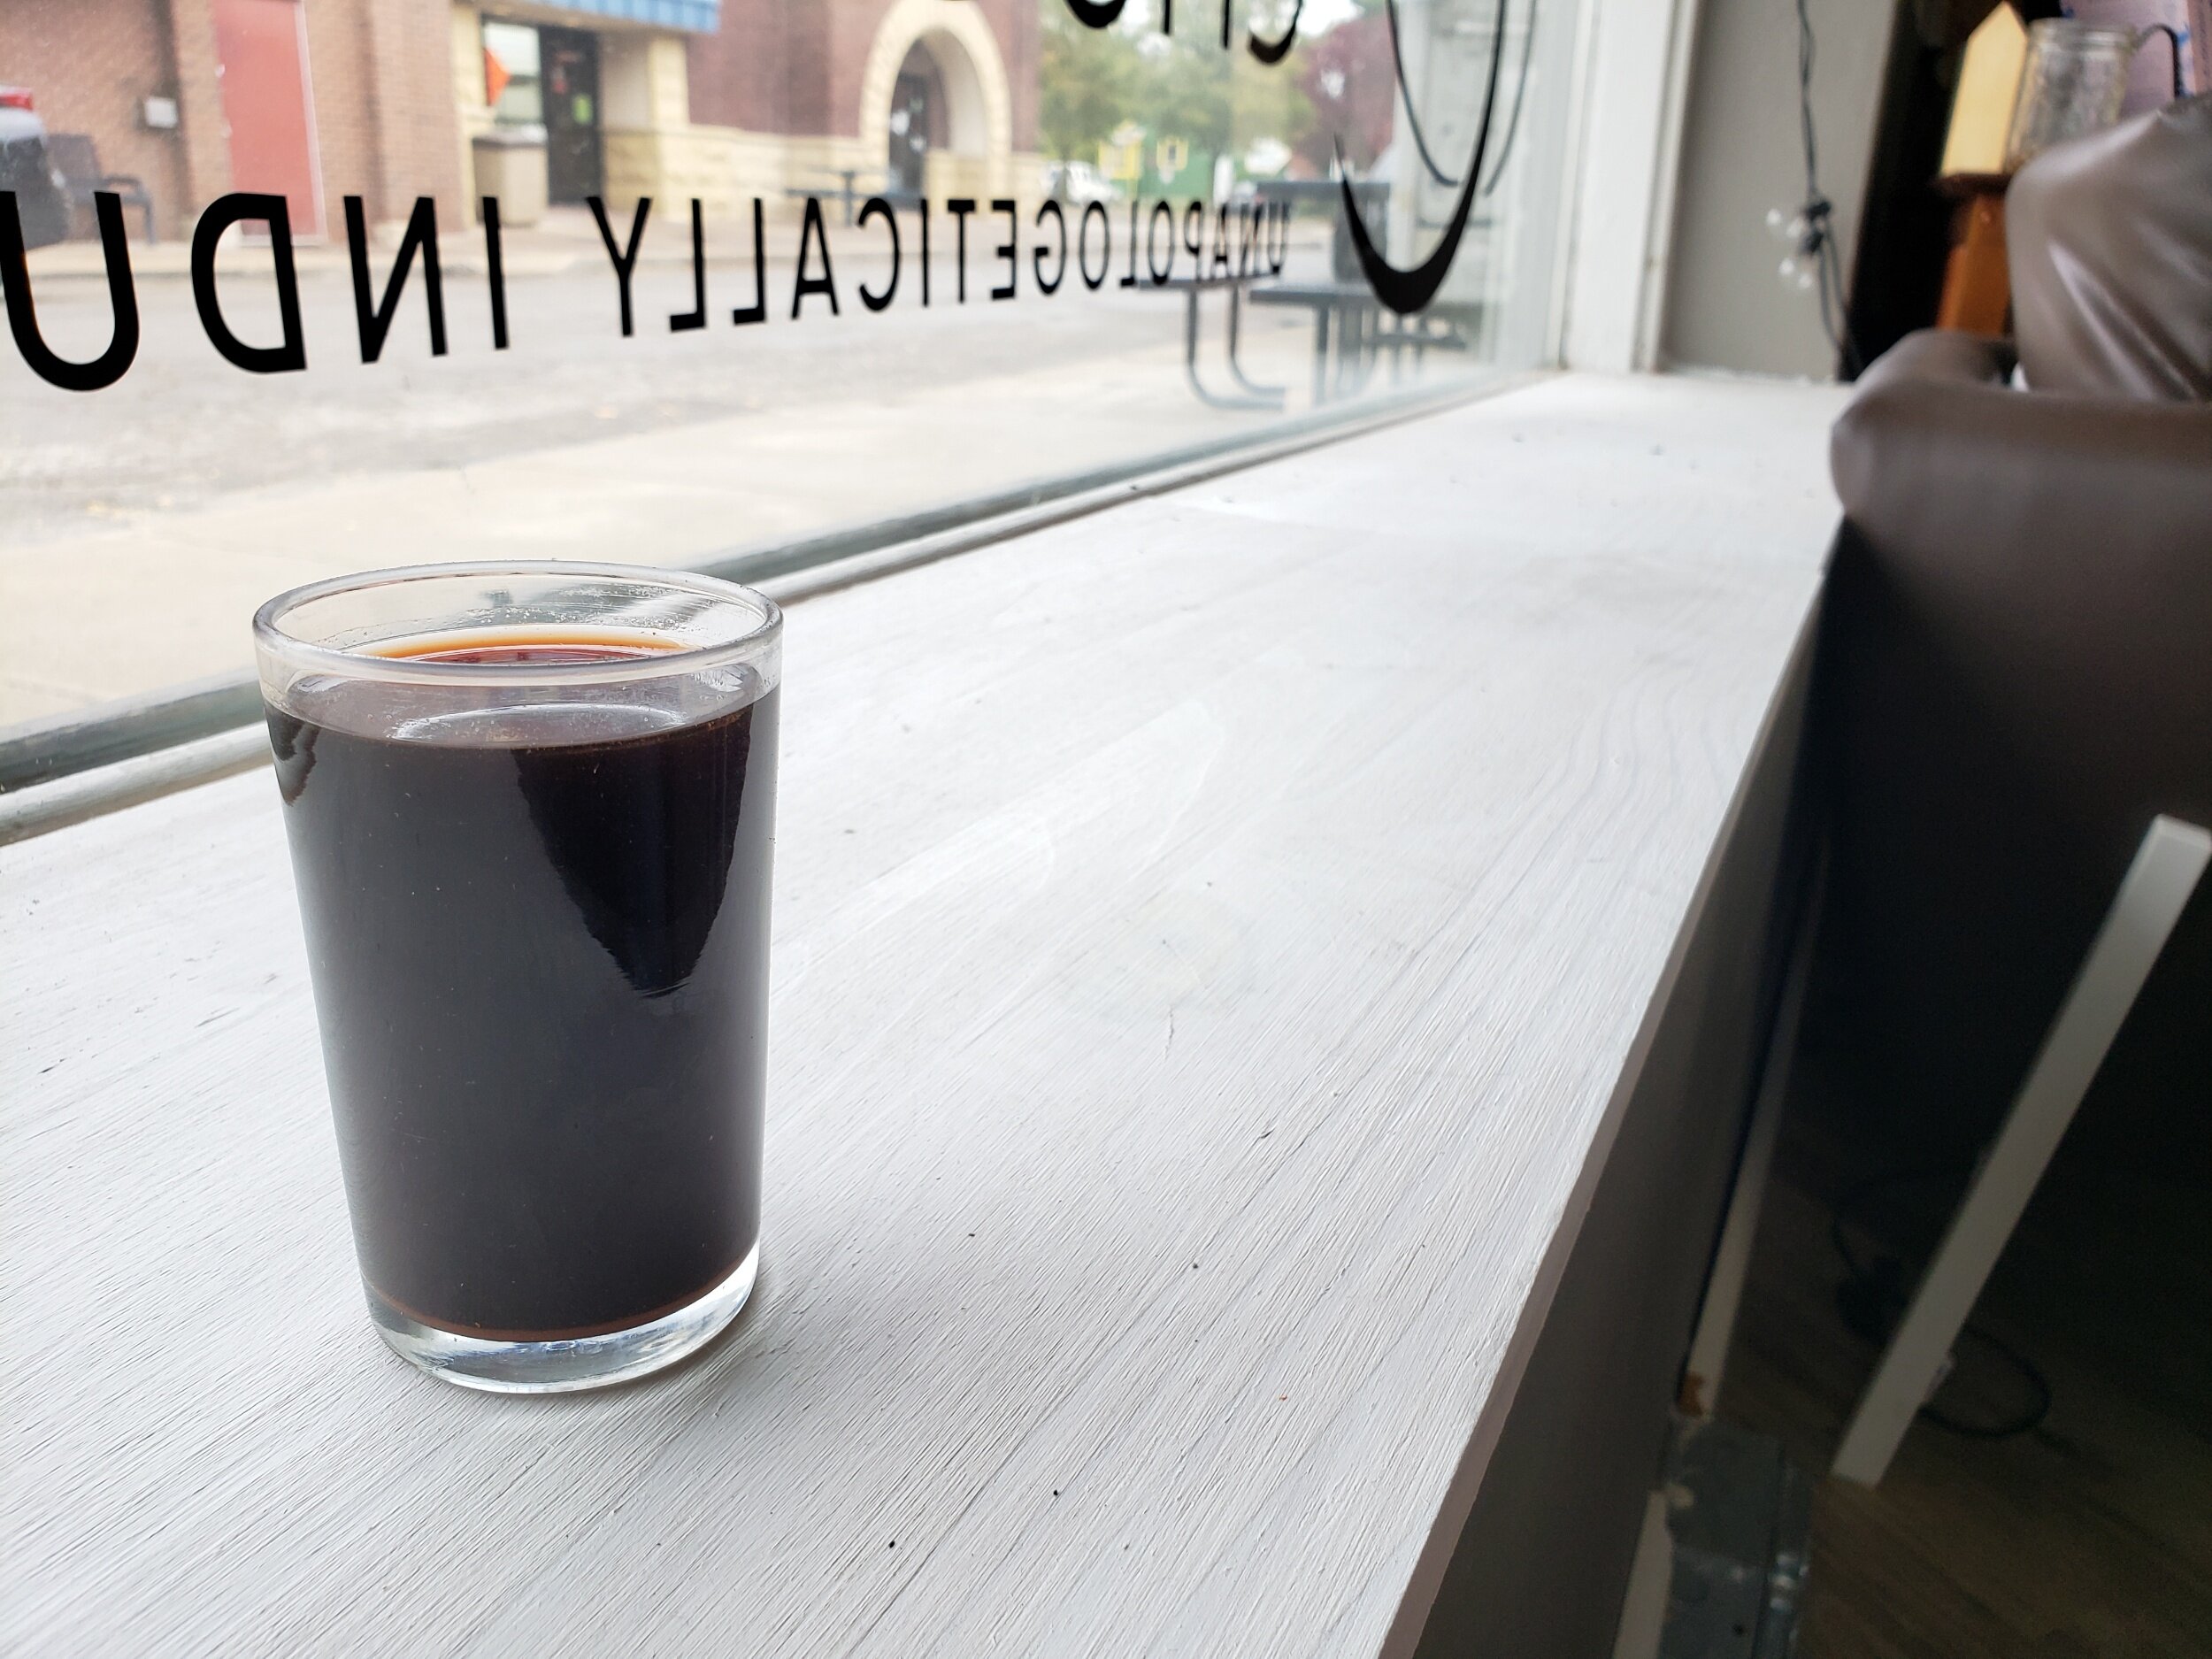
Serving our drinking chocolates with a palate cleanser such as sparkling mineral water provides a fuller tasting experience. Photo credit: Veronica Engle