QC Recipes: Biscuits and Chocolate Gravy
One of my very favorite things I used to make at the Chocolate House (before the pandemic…) was our Saturday brunch plate of biscuits and chocolate gravy!
What on earth is chocolate gravy, you ask? I’m glad you did.
My late grandma is from Tennessee and she used to make it for Saturday breakfast, as told to me by my aunt. I'd never had it before, but when we were building out the Chocolate House, I thought I would make a test batch at home and see if it was something to include in our offerings.
It immediately won over my wife, who serves as the true arbiter of taste in our household. Cheri can be picky but it is always in a way that serves as a line of what is high-quality and what’s not.
We both got excited about offering brunch to the queer community! Muncie, meet biscuits and chocolate gravy; biscuits and chocolate gravy, meet Muncie!

The very first plate of B&CG I ever made!
If You Like Biscuits and Any Gravy, You’ll Love Biscuits and Chocolate Gravy
Some folks who have never heard of chocolate gravy are universally skeptical at first. My wife included. The concern is whether the chocolate gravy is too sweet.
It isn’t. Trust.
It is situated somewhere between sweet and savory.
Serving it atop warm, tender biscuits helps anchor the gravy from drifting too far into the sweet category as well.
Here’s a bonus: I’ve created a way to make the whole plate vegan!
Part of our mission at Queer Chocolatier is to stand in solidarity with people of all sorts of diets, including vegans, and have the majority of our offerings suitable for their diet.
I’ll offer both versions, with dairy and without, in the recipe below!
The gravy itself is not hard to make but it can be easily ruined, so I tend to recommend not starting your gravy until at least you’ve put your biscuits in to bake or when they are out of the oven altogether. Also, the recipe for the gravy is what I use, but I include some of my preferred optional flavorings as well; feel free to experiment with flavors you enjoy! Gravy is more about expressing your own preferences, some like thinner gravy while others like it thick and never leaving the biscuit surface. Make it your way!
And, in case you wondered, yes these biscuits can be made in a toaster oven!
Ingredients:
For Biscuits (Yield: 6 biscuits)
2 cups All-purpose Flour
¾ teaspoon Salt
1¼ tablespoons Baking powder
1 stick, 8 tablespoons, very cold and cubed Butter (vegan version: butter alternative, such as Earth Balance or Country Crock's plant-based offerings, preferably the avocado over the olive oil)
½ cup Milk (vegan version: unsweetened soy milk), may need to add more, so keep handy.
Steps:
Preheat oven to 425° F.
Combine dry ingredients in large bowl and whisk to incorporate.
Cut butter into dry mixture. Use your hands to work butter into the mix as quickly as possible so as to not get the butter too warm, but get your final mix looking kind of sand and the butter pieces no bigger than pea-sized.
Make a well in the dry ingredients and pour the milk into the well. Stir to incorporate, but only just. Do not overwork mixture, as biscuits will get tough and not rise well.
Turn out biscuits dough onto counter and shape into a disk that is an even 1” thick throughout. Use a 2” biscuit cutter to cut out biscuits and place them onto a parchment-lined baking sheet. Re-shape scraps and cut more biscuits. I always made myself an “ugly” biscuit I shape by hand with the final remaining scraps that I couldn’t use to cut with biscuit cutter!
Bake for 12-15 minutes, until tops are golden brown.
Remove from oven, serve warm with gravy.
Ingredients:
For Chocolate Gravy (Yield: 2 cups)
1 cup Sugar
¼ cup Cocoa powder
3 tablespoons All-purpose flour
Pinch of Salt
2 cups Milk (vegan version: unsweetened soy milk)
4 tablespoons, cubed, Butter (vegan version: butter alternative, such as Earth Balance or Country Crock's plant-based offerings, preferably the avocado over the olive oil)
Optional: serve with a pinch of ground cinnamon and ground chipotle, maybe add 1 teaspoon of vanilla extract to be real fancy!
Steps:
Combine dry ingredients in a medium pot, whisking until fully incorporated.
Place pot on stove top on medium-low to medium heat and slowly stream milk into mixture, whisking to remove lumps.
Cook, stirring frequently and paying special attention to the bottom and sides of pot where gravy can thicken (and burn!) until gravy is warm and thickened to desired consistency, realizing gravy will continue to thicken as it cools.
Add cubed butter at the end of cooking and stir to combine until all butter is melted and gravy has a shiny, glossy appearance.
Serve over fresh biscuits or just eat with a spoon from the pot, I ain’t about to judge.
Gravy can be stored in a jar in the refrigerator for about a week. When reheating, use a microwave (30 seconds at a time, stirring in between) or return gravy to a pot but add a bit of milk to thin out while bringing gravy to desired temperature.
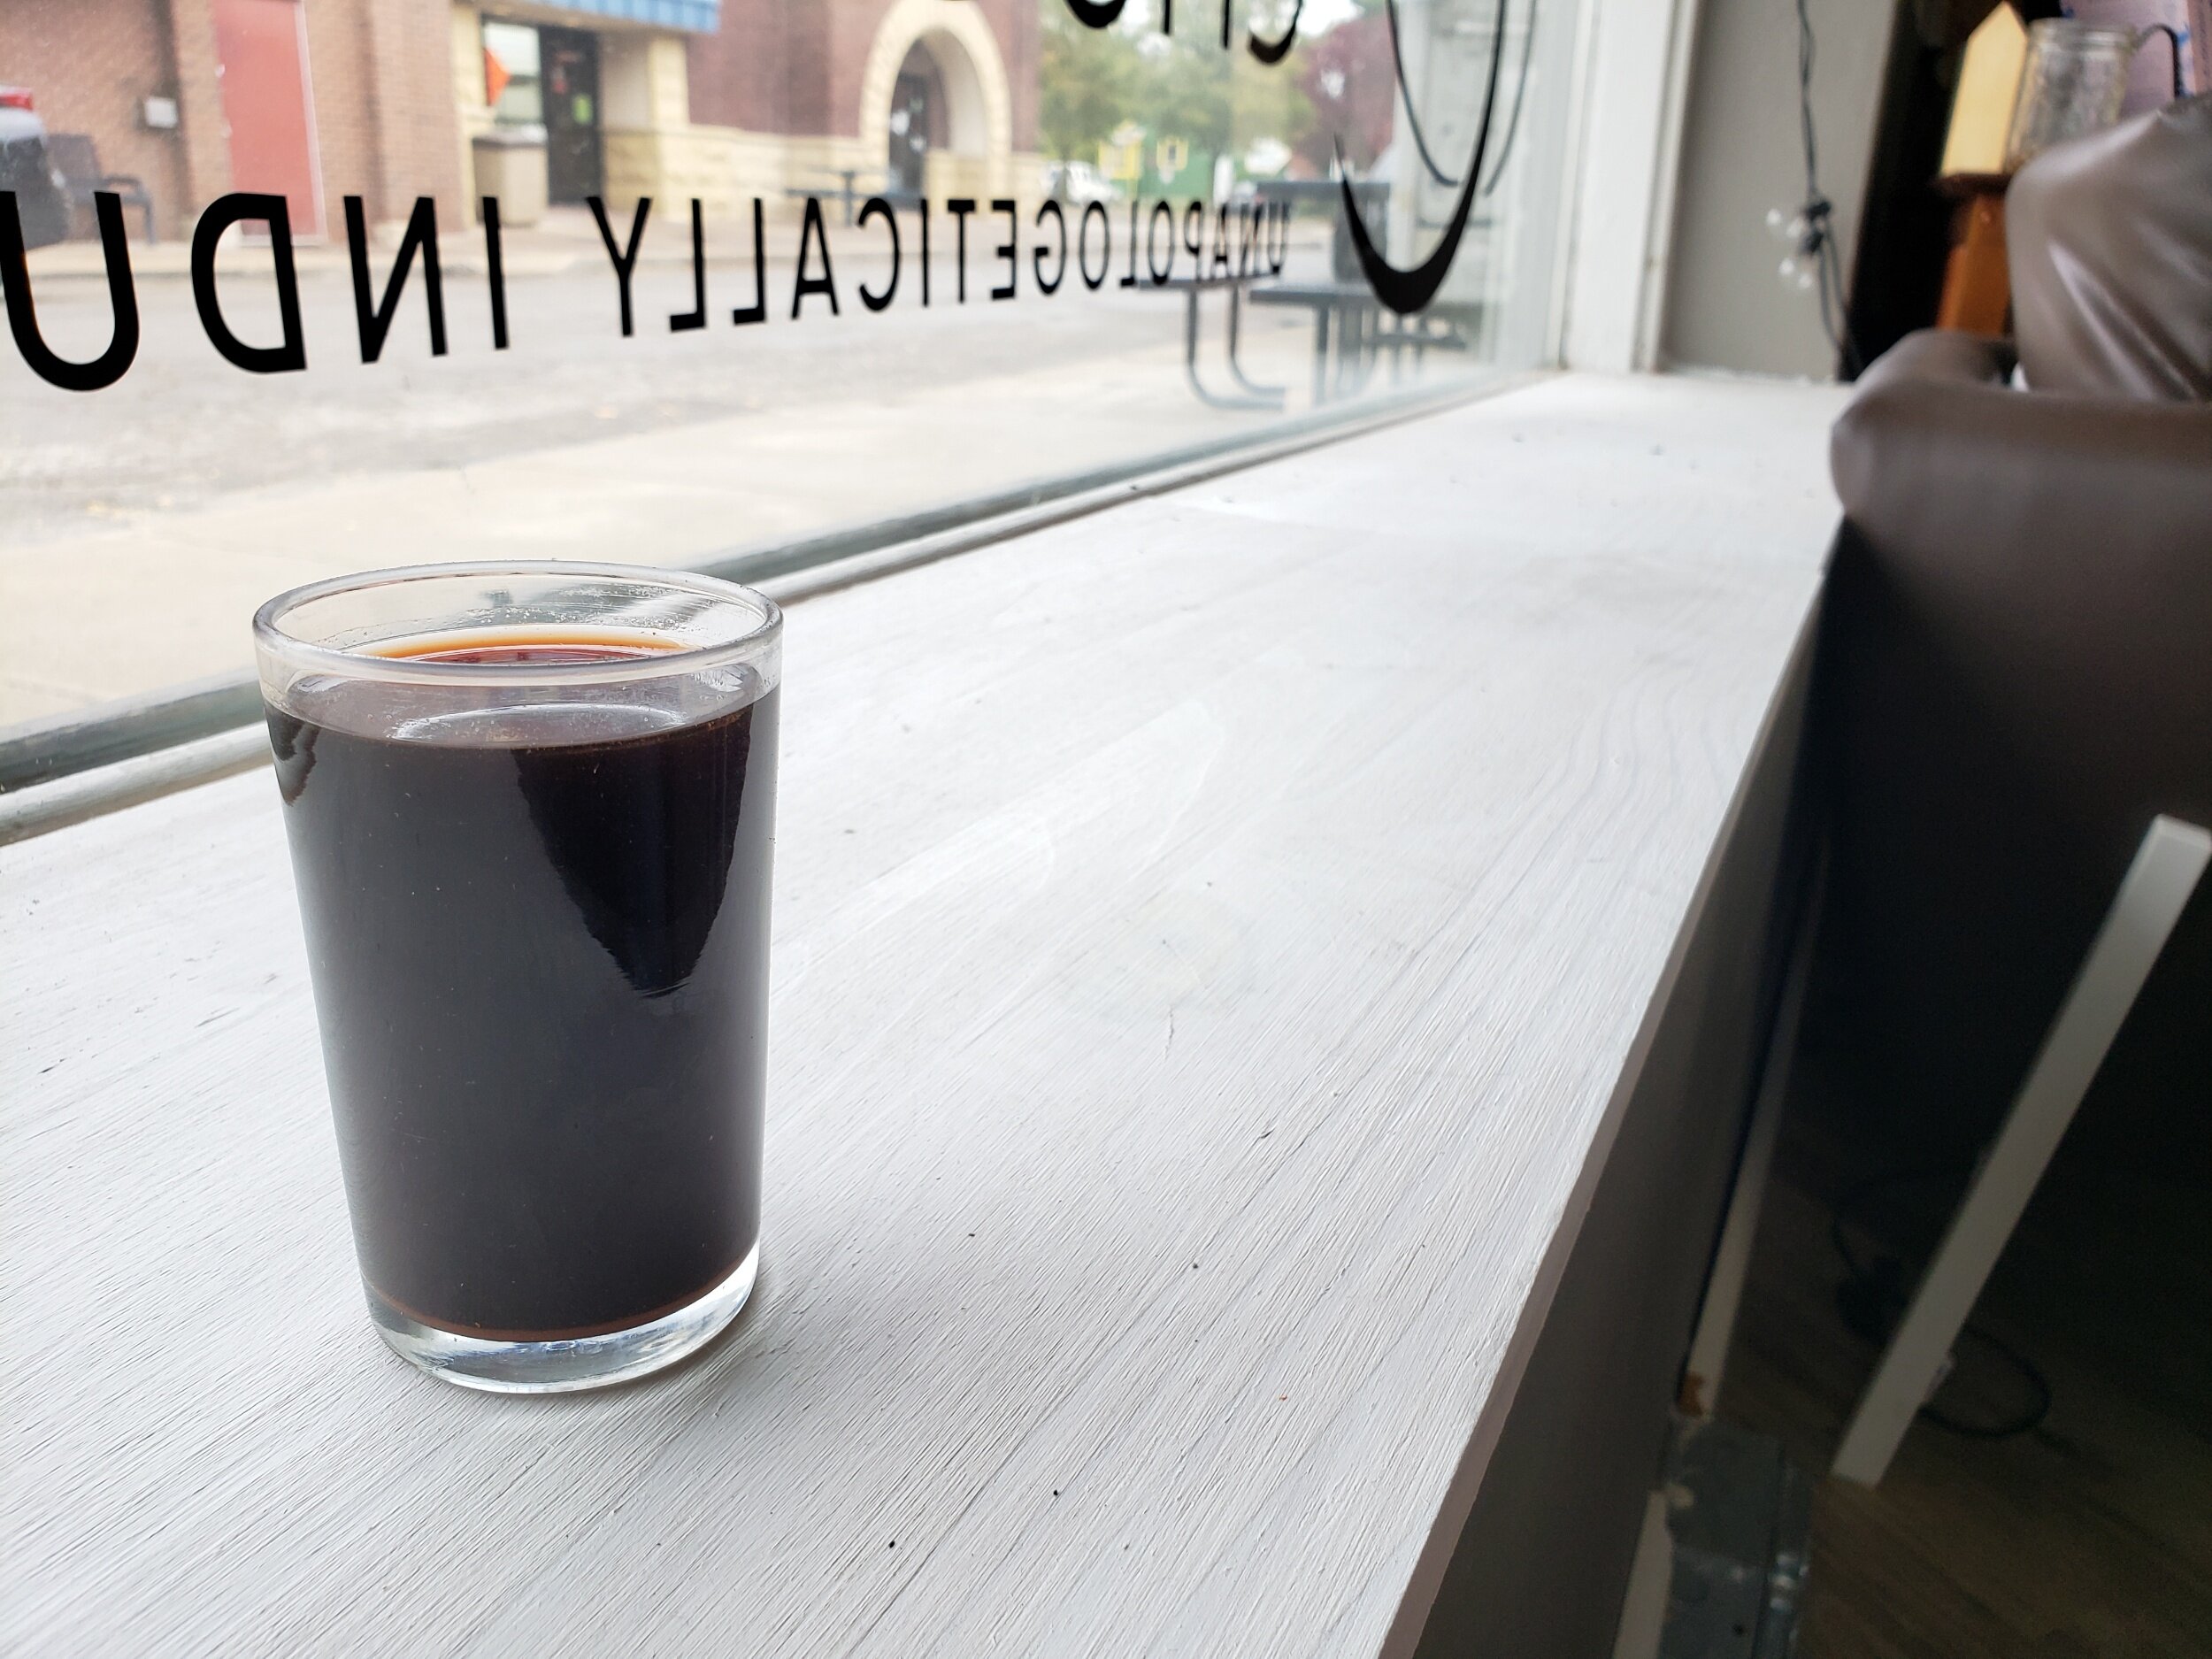
Instagram photos from customers who have unapologetically indulged in Queer Chocolatier Biscuits & Chocolate Gravy
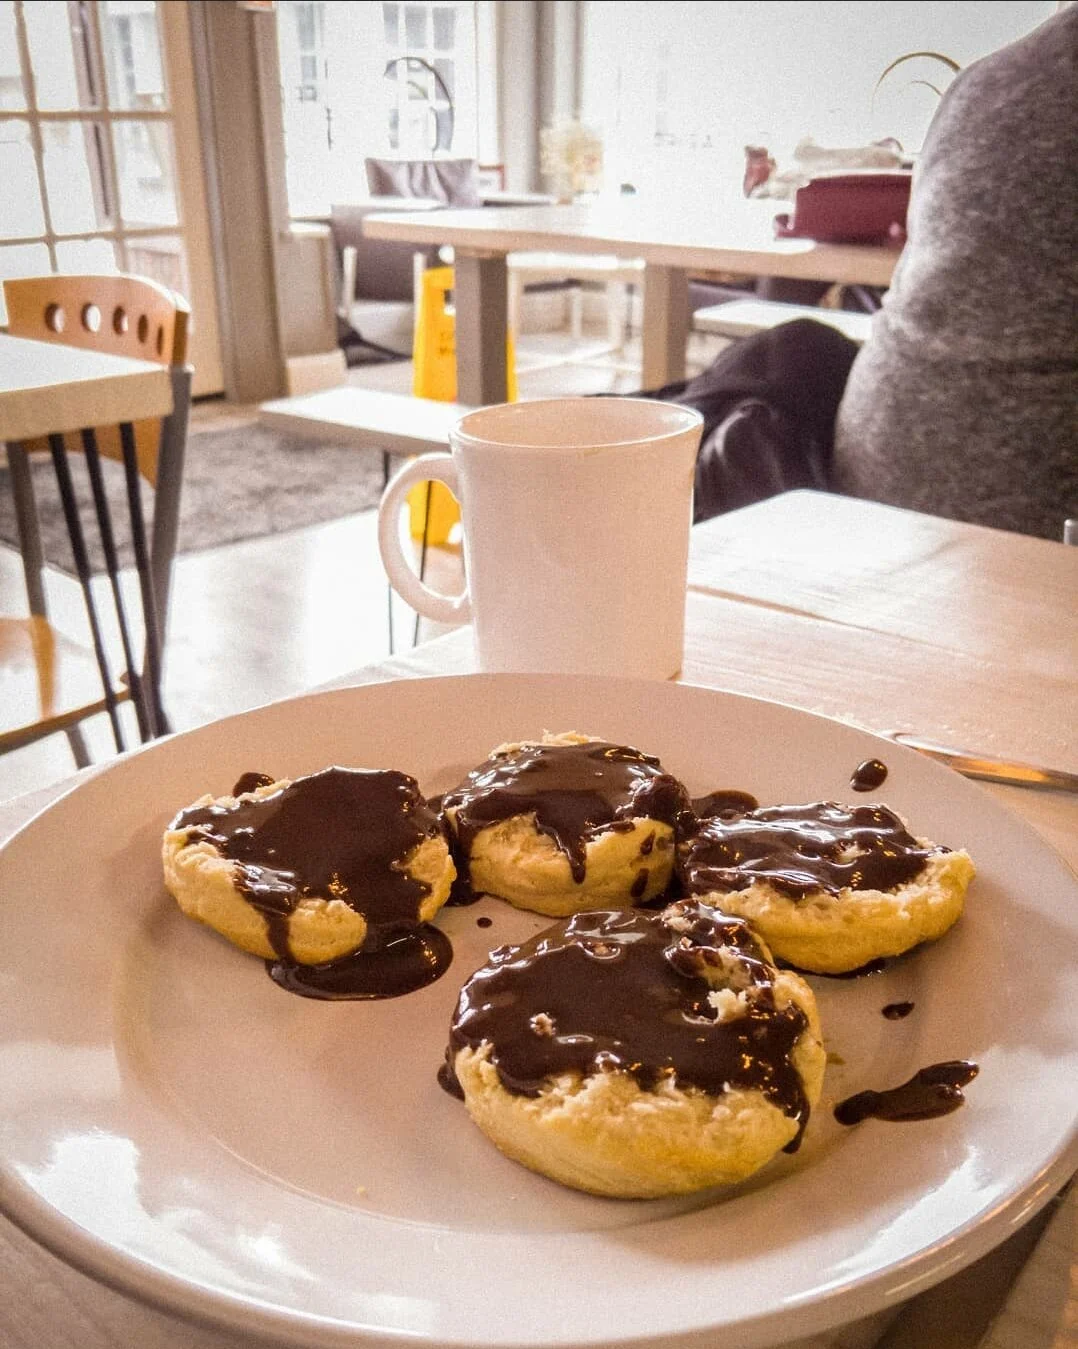
Photo credit: Benjamin Strack (IG @photogben)
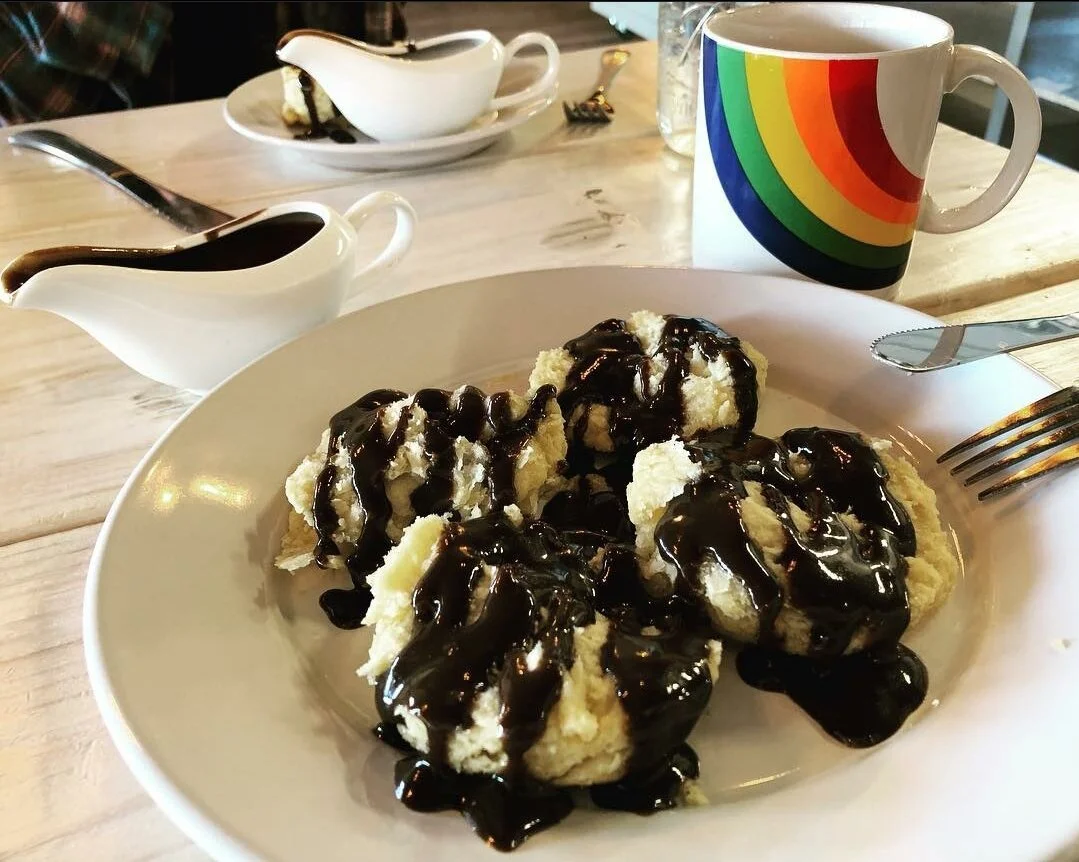
Photo credit: Ryan Remington (IG @ryanisadope)

Photo credit: Amy Shaw (IG @alphanumeric.71697
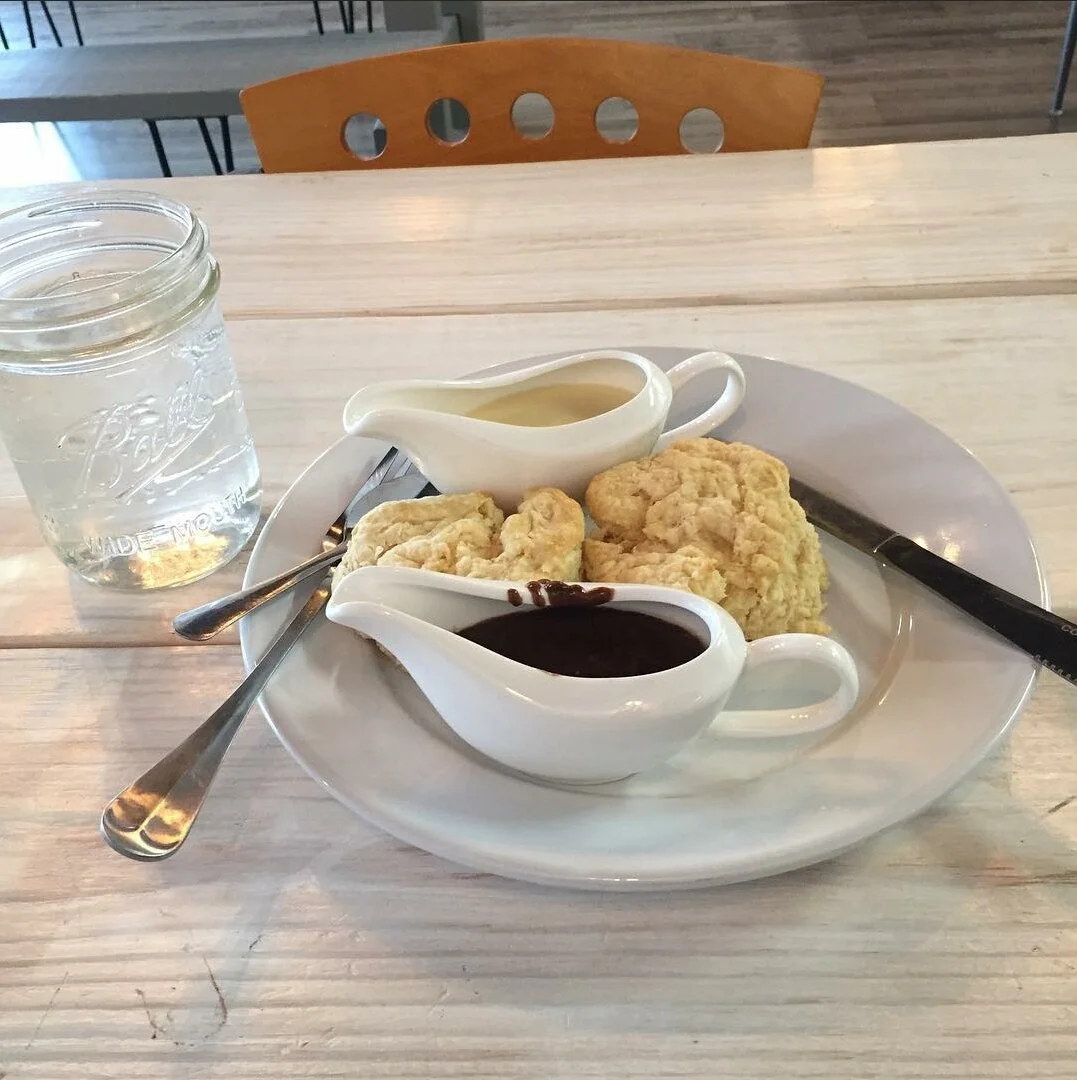
Photo credit: Patrick O'Neal (IG @patrick_mcdarling_oneal)